
14 of 30 days are done. And today is in fact the half way point. When I first started the W30, everything I read talked about how it was
only 30 days, or
just 30 days. I thought to myself, sure, it
is just 30 days, but that's still 30 days, over 4 weeks, a full month - they only say that it's just 30 days to make it sound easy. But here I am, nearly half way through my 30 day journey. According to a post on the Whole30 Blog titled,
The Whole30 Timeline, week 2 consists of "Days 8-9: My Pants are
TIGHTER?!," "Days 10-11:The Hardest Days," and "Days 12-15: Boundless Energy." I have pretty much followed this timeline pretty closely. I wouldn't say I ever felt as though my close were tighter, leading me to believe I gain weight. Most of the time to this point, I have felt about the same or slightly thinner, never heavier, or thicker. To be honest though, I hadn't really had a feeling of this process being difficult. It has been a big change in my eating habits, no doubt. But for the most part, I have eaten similar to this, just with more snacking. Basically, The only change I have made during these past 14 days has been eliminating my excessive snacking. Yes, I have eliminated many of my regular foods, including yogurt, rice, oatmeal, peanut butter, and bread. But like I said, the biggest change has been my elimination of excessive snacking of junk food. I hadn't really had any cravings....until day 13 or 14.
During days 10-12 I began to have thoughts about comfort foods or foods like I can't eat...and shouldn't eat, such as cake, cookies, ice cream, and pizza. It wasn't ever a craving or a thought of, "Oh, I just have to have _________!" It was more of a generalized thought of, "If I stick with this style diet after the 30 days, I will never have _________ again. <sigh>" I truly think the whole reason I have been thinking like this is the idea of falling back to my poor relationship with junk food; where I start eating some junk food with an acceptable portion, but then end up going back for seconds....then thirds....then - oh wait, I just ate it all.... Let me tell you, I do NOT want to fall back into that cycle. I won't fall back into that cycle.
Even now, with 14 days under my belt, I am still trying to figure out the right strategy to eat right while working 3rd shift. As if figuring out the right sleeping pattern isn't challenging enough, now I have to find how to eat right without overeating and leaving myself craving junk food? I heard on The Ben Greenfield Fitness Podcast, that sleep deprivation can produce false signals in your brain telling you to eat more, on top of that, sleep deprivation induces cravings for sweets and sugars. You want to talk about stacking the deck against you. Working 3rd shift leaves you tired on most days, especially on my first days on or off (turn-around days). So now, besides, being tired, cranky, and lethargic, now I have to deal with cravings and hunger-pangs. I have been handling this by drinking tea and water.
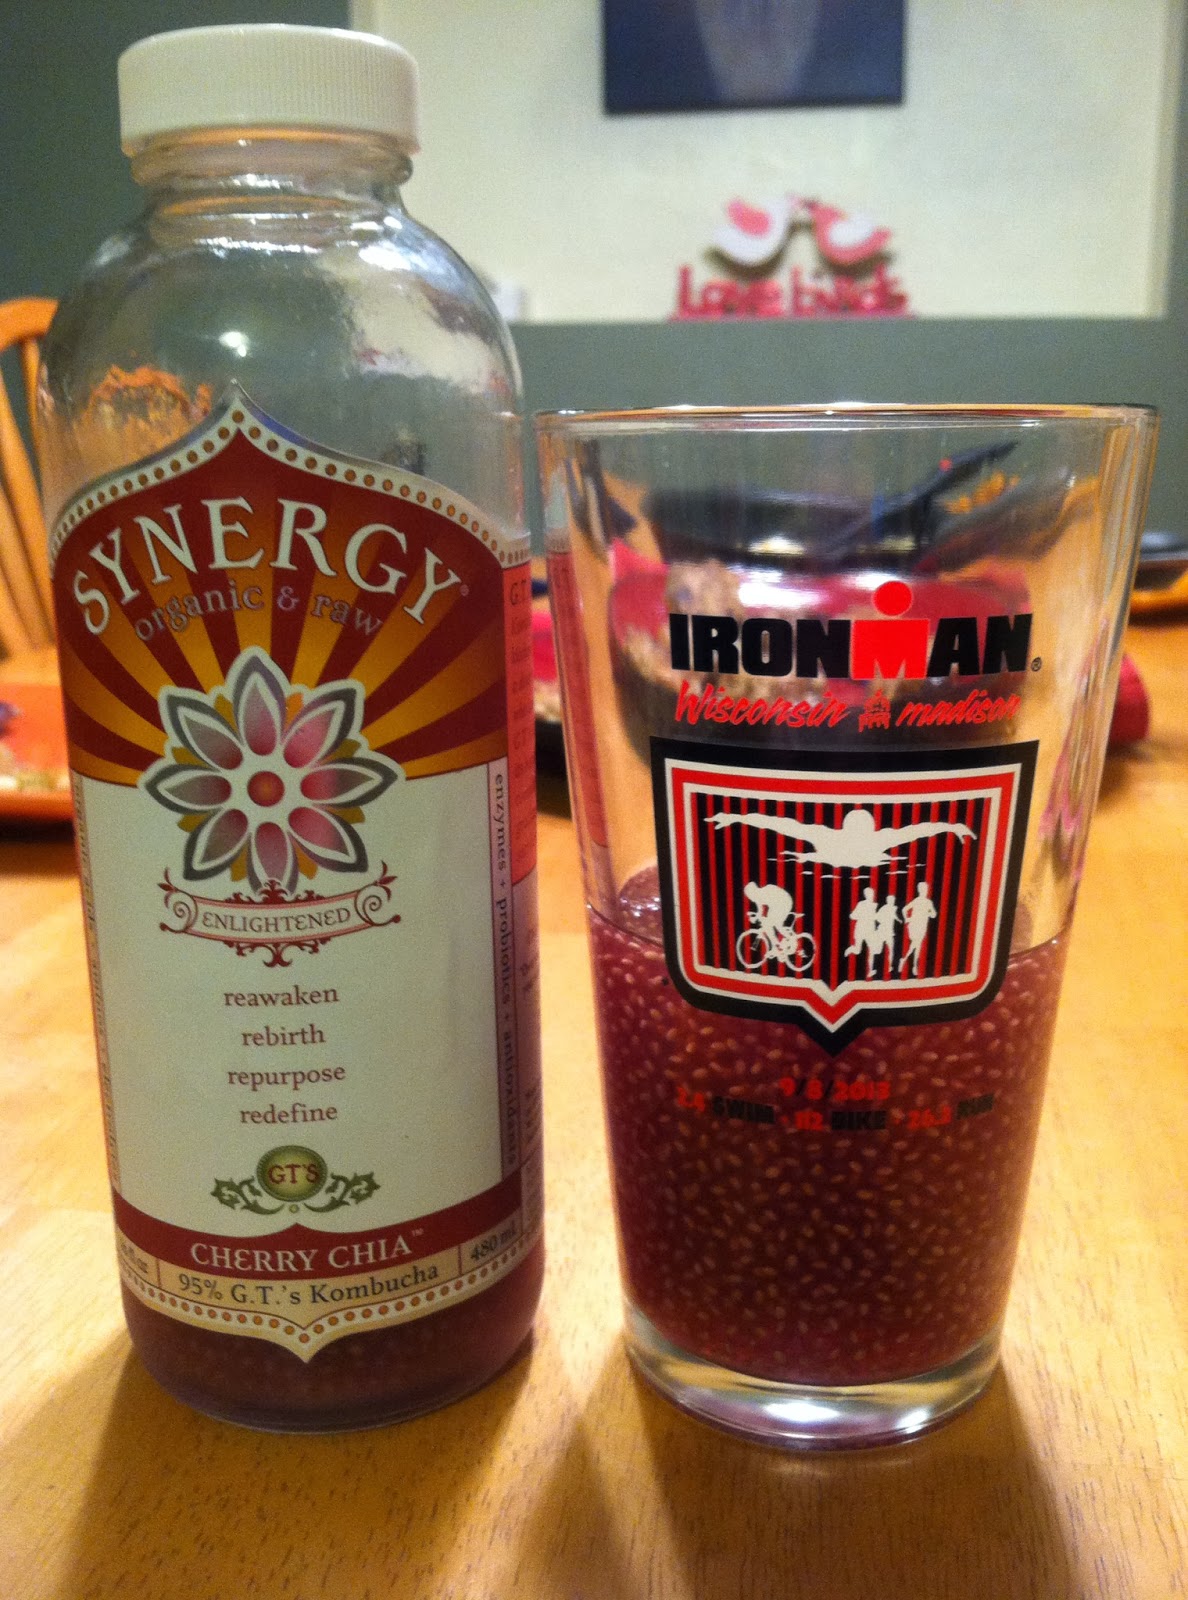 |
| Kombucha...with chia seeds....Brilliant!! |
Last week I discussed needing to decrease the amount of fruit I was eating on a daily basis. To help with this, I purchased less sugary fruits when I went grocery shopping, picking up kiwis and grapefruits. I have cut back the amount of fruit I have been eating considerably, down to just 1-2 pieces. For the most part, my eating has been very good. I never really over ate during any one meal. My pre and post workout meals have been going good. I have been eating some nuts with a small fruit about 1-2 hours prior to my morning workouts when I work. On days when I worked the night before working out, I will just have a can of coconut water to replenish and rehydrate. During my off days this week, I had some combination of sweet potatoes and eggs. If there was one thing I need to focus on for the final half of my W30, it would be my between meal snacks. I have been snacking pretty regularly, but still on healthy vegetables and nuts. I think to stay in spirit of the W30 program, I need to cut out all between meal snacking and focus solely on the main meals throughout the day. I still plan on eating a couple of smaller meals during my night shifts at work, just to better handle the unknown factor with my job. I just never know when or sometimes even if I will be able to eat. What I do know is just eat a small meal of sardines and veggies earlier during the shift and then some nuts and a small piece of fruit later for my pre workout meal. Most of those foods are easily eating on the go, which is perfect.
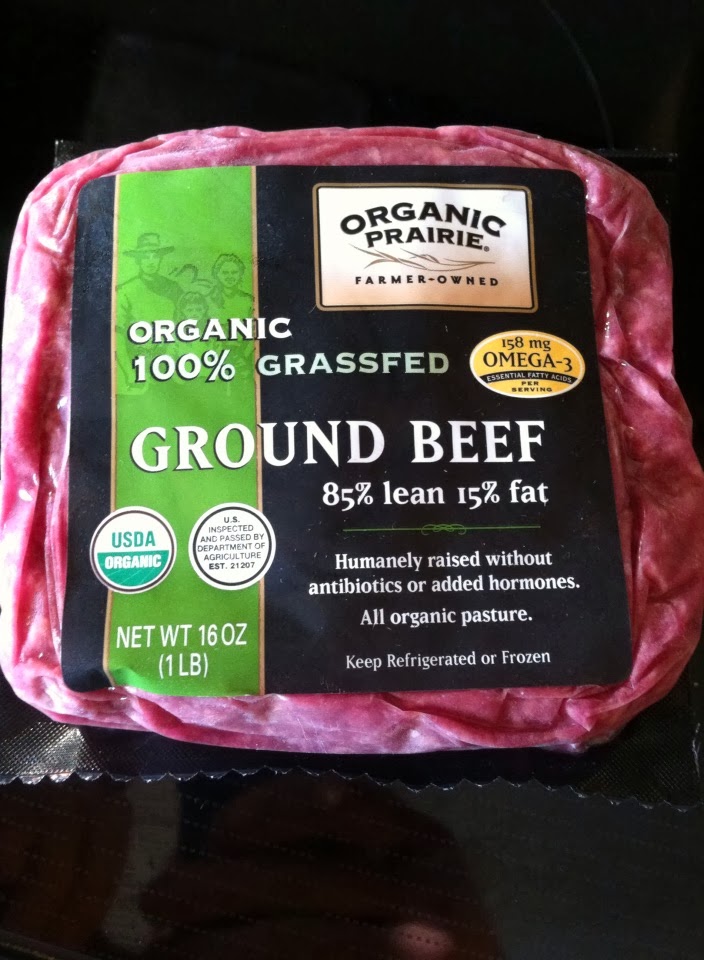 |
| A new staple in our home, 100% Organic Grassfed Beef |
This past week, we have had some more really good Whole30 approved meals. On Tuesday, I made a
crock pot chili which was easy and very good. Wednesday was my first night back at work, plus I had training for most of the day from 8-4pm. I did have a decent break between a morning session and my afternoon session and took advantage by going for a quick run during my lunch break. For food, I packed a salad topped with salmon along with some vegetables. It really wasn't too difficult and tasted really good. After training I went home and grabbed a couple hours of sleep before returning to work for my first night back. Wednesday, I tried something new, with making
blueberry turkey breakfast patties. Surprisingly they were a hit. We did a breakfast theme dinner and fired up some potatoes for the girls and had pancakes, while I had a small sweet potato. On Friday, we had one of my favorite simple meals of fried butternut squash with quartered Brussels sprouts. Saturday I had picked up overtime and went in early to work and just packed a salad and chili left overs for my dinner and then my regular work lunch for the remainder of my shift. For Super Bowl Sunday, I kind of fell off the wagon, but still stayed true to the Whole30. I baked a filet of cod topped with salsa for dinner, and steamed green beans for a side. I also finished the little remains of the chili left overs and then went on to the squash and Brussels sprouts left overs. I didn't stop there though, I had a banana with almond butter for a dessert, and started getting the same cravings I used to get before starting the Whole30, where I would go dive into the candy jar and finish anything and everything I wanted. I resisted the temptation to quit the W30, and just had a second banana with almond butter. This was the first actual thought I had of just scrapping the entire Whole30 thing and just eating some Rolo's my wife has sitting in the pantry, or a granola bar, or some Scooby Snack graham crackers. I wanted to eat the junk food that previously controlled my eating. After eating so much food, I still wanted to eat some treats. I ate a small clementine orange then a kid's sized box of raisins. Yes, I realize that this was way to much food and was completely NOT what I should have done. But at least, I am still on track to finish my W30 and didn't jump off.
I have been getting used to not consuming any caffeine, almost to the point were I am considering staying caffeine free for the remaining 16 days. My plan as of today, is to stay caffeine free until Saturday, day 20, and my first night back to 3rd shift. My thought is that not only will I limit the amount of coffee I drink at any one time, but also start mixing decaf with caffeinated coffee to blend my own half-caf coffee.
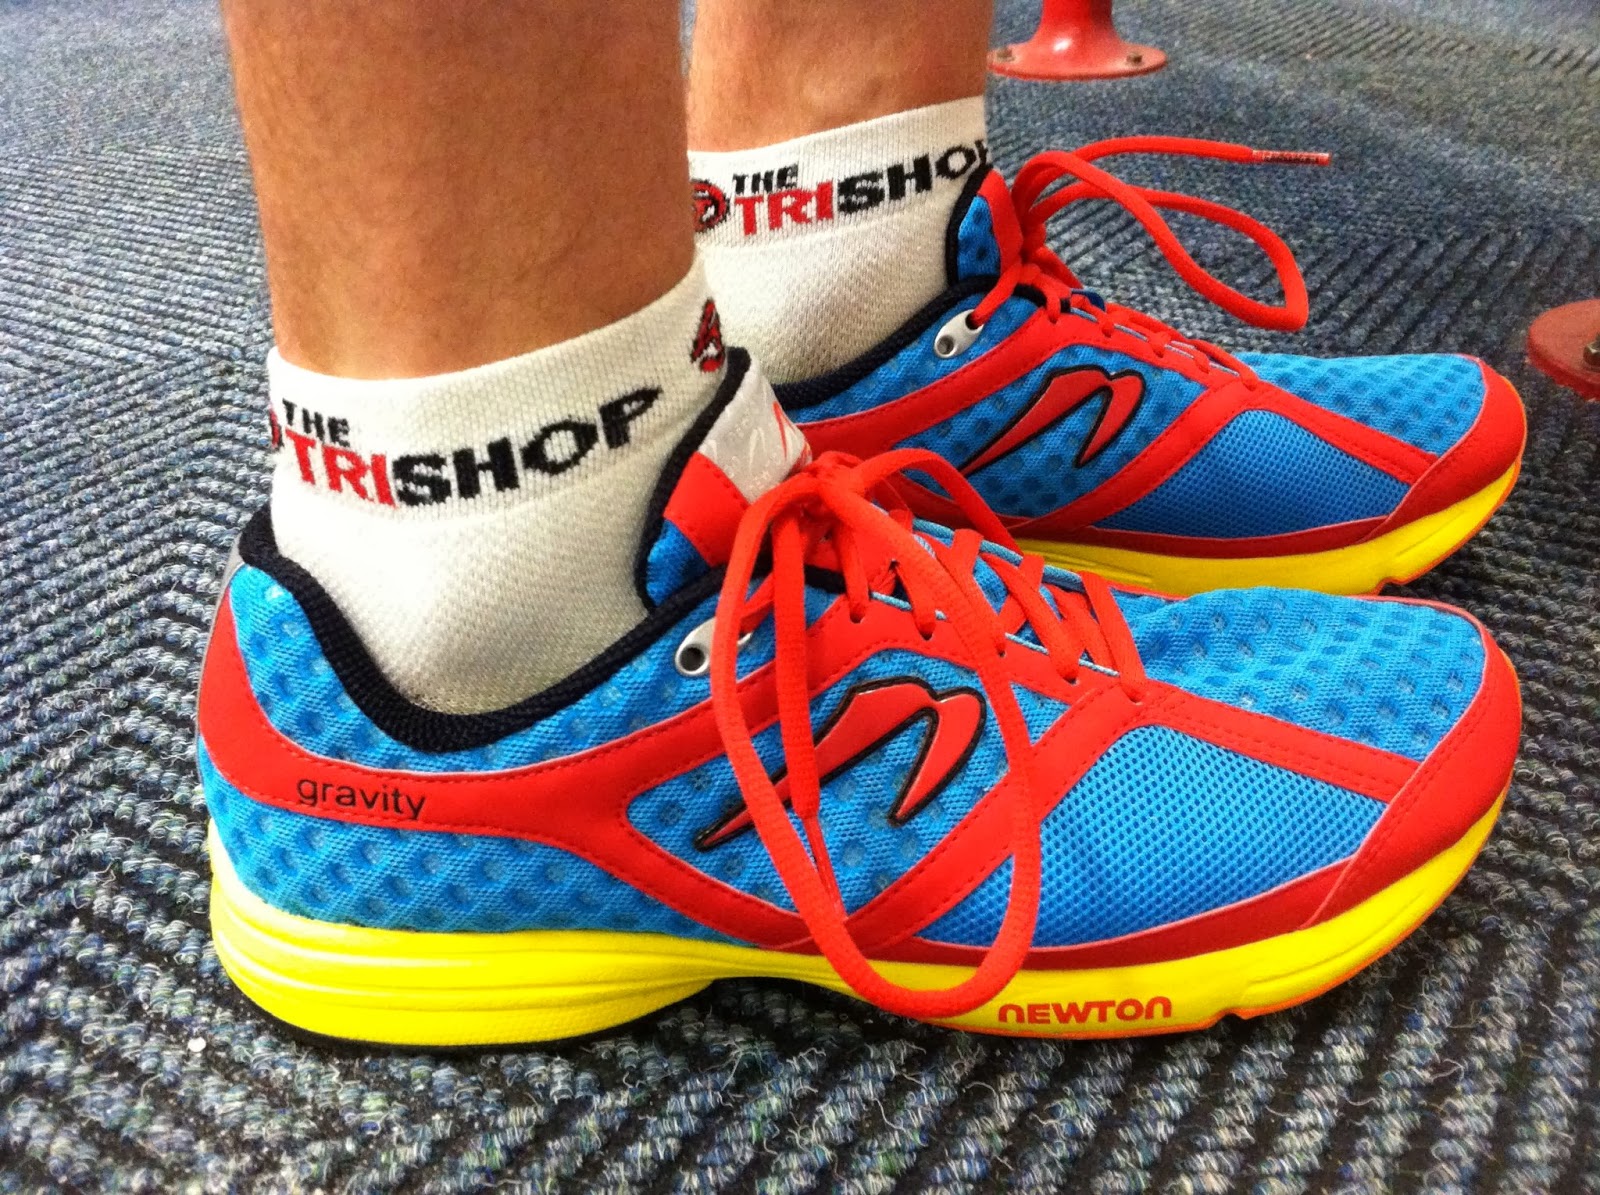 |
| First run in my Newton Gravity's |
My training has been going surprisingly well. The past two weeks my training has been right at 9 hours per week. I have been in the pool quite a bit and on a bike more then usual. My running is slowing building back up. After first returning back to running last week Sunday, I followed it up with a 5 mile run on Wednesday, a 3 mile brick run on Friday, and then another 5 mile run on Sunday. I am starting to put together a plan to get me back on track to run 30 miles on my 30th birthday March 2nd. On Monday, I plan on biking for an hour and then running 3 miles immediately after. My thoughts are, that I have two tests to determine if I am able to dive head first back into running. 1 - running frequency and 2 - running volume. For frequency, I started first with taking a 2 day break between my first and second run, followed by 2 day break between the next couple runs. Now, I am running on back to back days, from Sunday to Monday. With my volume, that will be a little more tricky to figure out. Because, with volume, you need to consider proper rest between runs following more damage to my legs. I plan on trying an 8-10 mile run on either Wednesday or Thursday. Based on both, how my shin feels during that run and how my legs feel the day or two following that run, I will play it by ear when my next run is. My fear right now is that I either re-aggravate my shin injury, or worse, produce a new running related injury from rushing back too quick. It's really tricky for me, who just wants to plan everything. I need to know what I am doing next week. I need to know where I am going. But, realistically, I need to really listen to my body until I can run consistently without any issues. Once I reach that point, I can start putting together a training plan. I have the knowledge to train on the fly and do it smart, it just makes it that much more challenging. It's hard enough planning out 3 months worth of training on a blank calendar, not to mention basing the next day's training schedule on the how the previous day went, all while keeping the following day and the next race in mind.
 |
| Running out of room to put the snow! |
 |
| Maya got to play while Daddy worked |
Week 3 of my Whole30 looks like it will resemble more of a "normal" human's schedule. Tuesday-Thursday are my scheduled off days and then Friday I have SWAT training from 8-4pm which means I am off that night from 3rd shift. I then work 3rd shift on Saturday, only to have Sunday off for more training. I am going to focus more on decreasing, if not eliminating, my snacking and focus on eating during main meals only. I think this week will be the hardest week of the W30. I have a feeling I will be most tempted to abandon ship during the next 7-10 days, but if I can stay focused, the last 7-10 days will fly by.


